Need to take a screenshot on your Mac? We’ve put together this guide to teach you how to do it in just two steps.
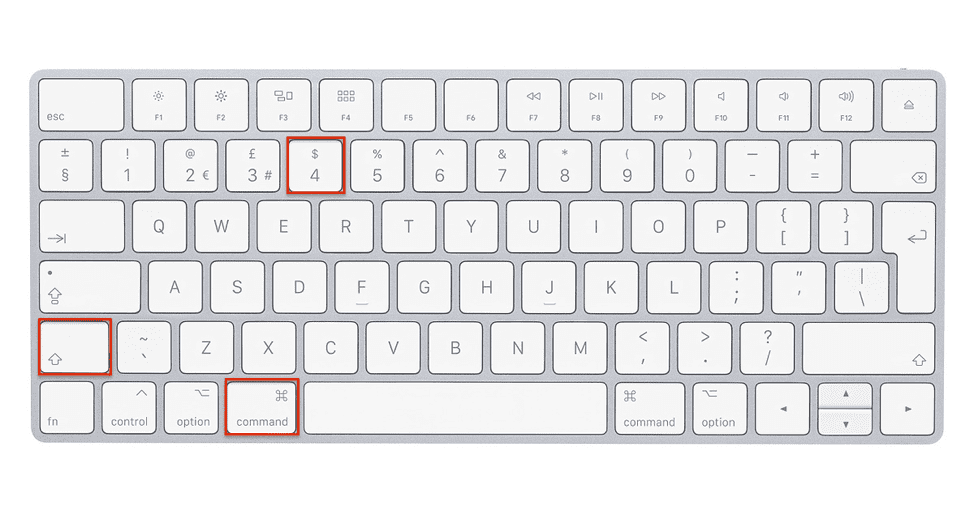
The quickest way to capture your screen on a Mac or MacBook is to use your computer’s built-in shortcuts. These allow you to capture the whole screen, a select portion of the screen or a window simply by holding a combination of keys on your keyboard.
Apple automatically saves screenshots to your desktop but, if you’d rather store them neatly in a folder, you do have the option to change the default location in the Screenshot app. You can also manually drag the thumbnail to your chosen folder as the image is saving.
Read on to learn how to print screen the entire screen on a Mac, or scroll down to the Troubleshooting section of this guide for shortcuts you can use to capture specific windows, menus and portions of your screen.
What you’ll need:
- A Mac or MacBook
The Short Version
- Press and hold Shift, Command and 3
- Wait for the image to save to your desktop
How to print screen on a Mac
- Step
1 Press and hold Shift, Command and 3 at the same timeThis will capture the entire screen. To learn how to print screen a specific portion of the screen or a single window, scroll to the bottom of this guide. - Step
2 Wait for the screenshot to save to your desktop - Or click the thumbnail in the corner of the screen to edit the image first.
If you are a writer then you can write for us
 Lifeyet News Lifeyet News


